Overview
The keyboard I actually use day to day is a pretty standard wired build: Pro Micro + QMK Firmware. I’ve been wanting to build a fully wireless version of it, so as a first step I decided to get my hands on an XIAO nRF52840 and try out ZMK.
I wanted to walk through the whole loop first at the smallest possible scale — set up a ZMK config repo, build it, flash it, and pair over Bluetooth — so this post shares what that looked like.
All I used was a single switch. No soldering, no breadboard — just an IC test hook clipped onto the microcontroller’s pads. That way, even after the PoC is done, it’s easy to put the parts back to their original state.
Hardware
- MCU: Seeed Studio XIAO nRF52840
- Switch: 1x Cherry MX-compatible key switch
- Wiring: an IC test hook (grabber) clamped directly onto a pad on the XIAO board, with just two wires running to the switch’s terminals
D0(P0.02) → one switch terminalGND→ the other switch terminal
- No external pull-up resistor — relies on the GPIO’s internal pull-up
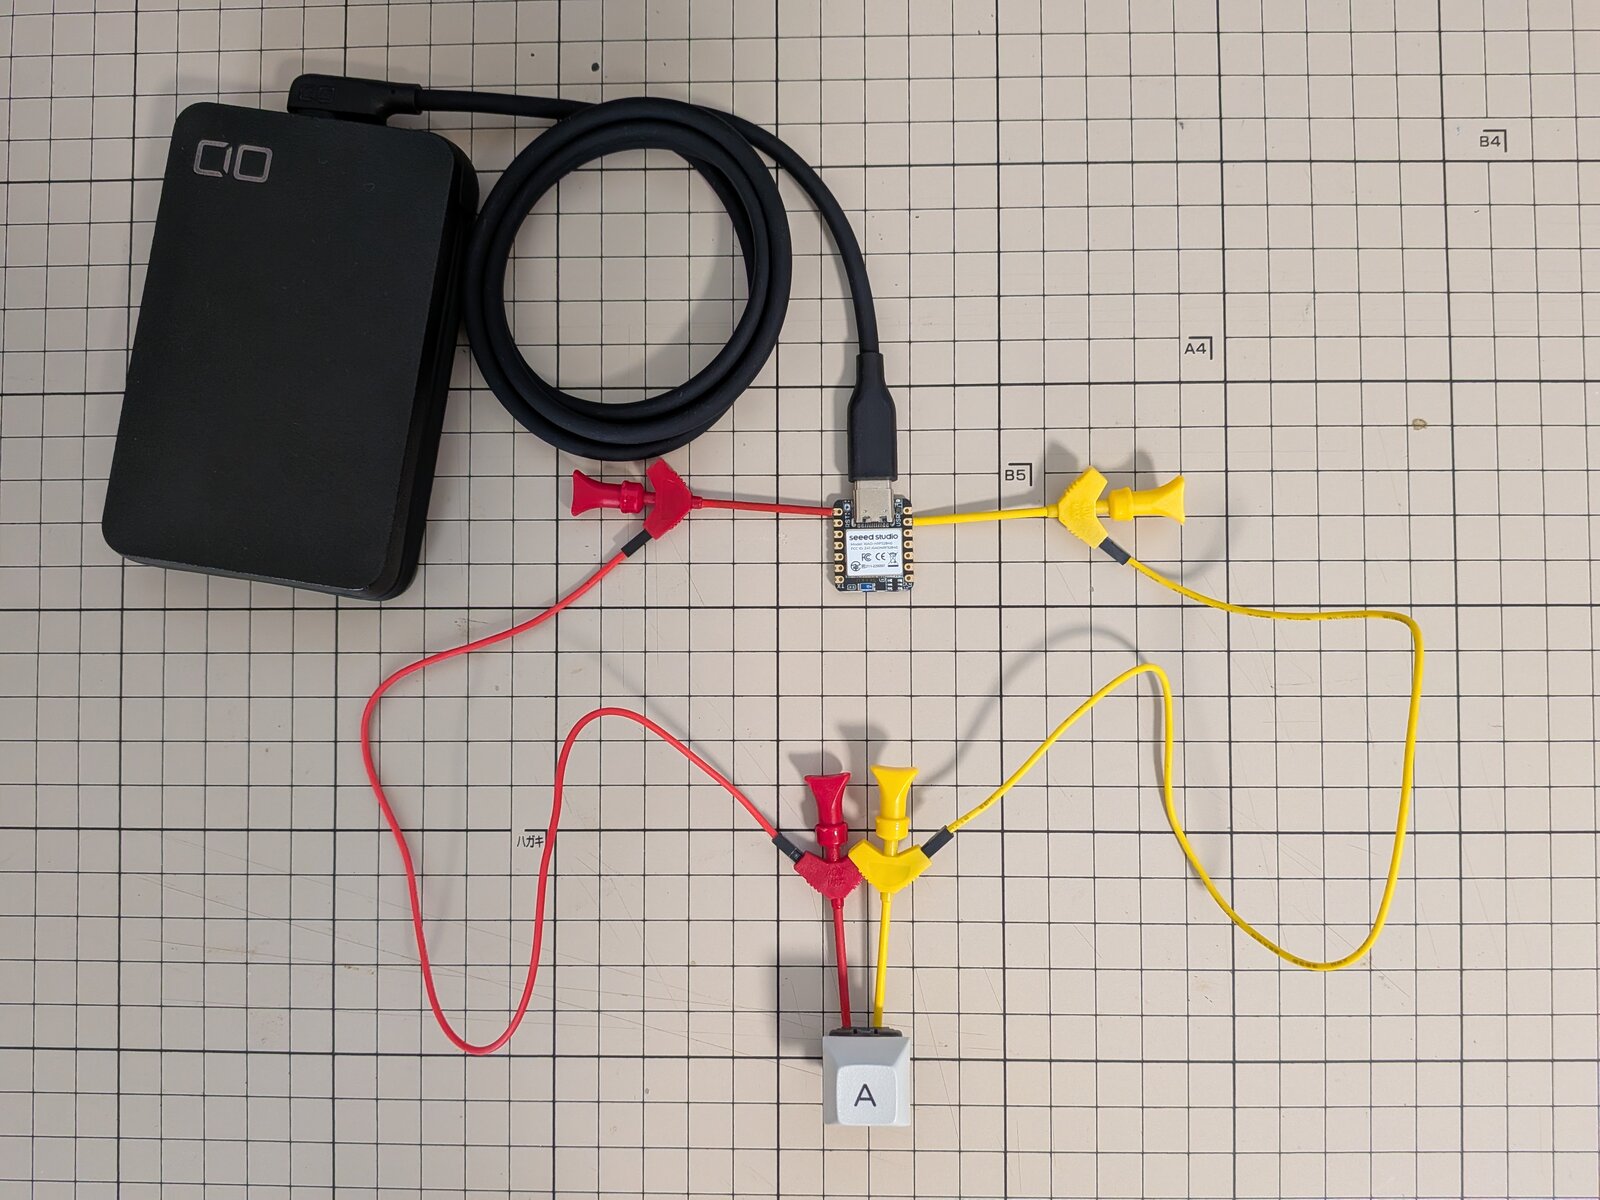
- Power: USB-C (from a power bank)
Here’s what the wiring looks like.
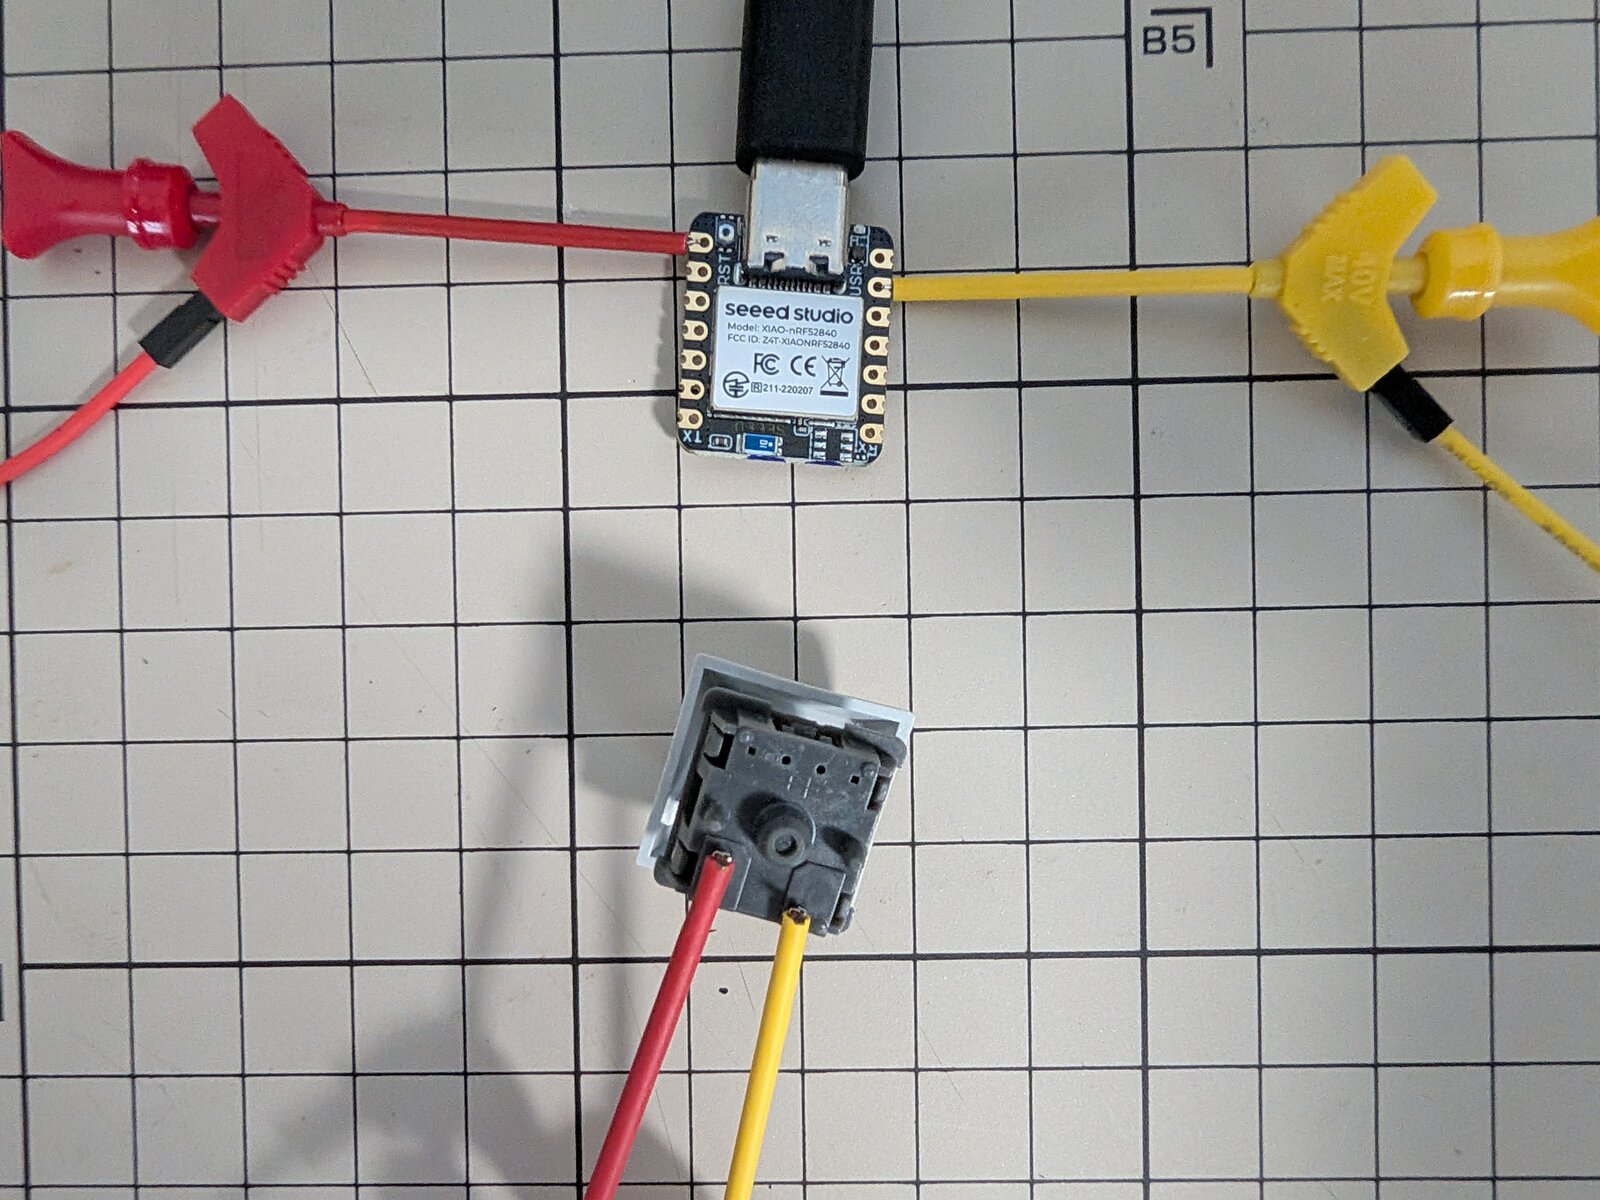
To make it easy to try out without any soldering, I ran it off USB-C from a power bank. I also stuck an “A” keycap on the switch, matching the keycode it actually sends.
Setting up the ZMK config repo
ZMK ships an official ZMK CLI (uv tool install zmk → zmk init) that can apparently walk you through creating a GitHub repo interactively. This time, though, I wanted to actually understand the structure it produces, so I built the files by hand instead, based on ZMK’s official unified-zmk-config-template.
Here’s the repo I ended up with:
The directory layout looks like this:
zmk-config/
├── .github/workflows/build.yml   # just calls ZMK's official reusable workflow
├── boards/shields/single_key/    # the custom shield itself
│   ├── Kconfig.shield
│   ├── Kconfig.defconfig
│   ├── single_key.overlay        # hardware definition (kscan / GPIO)
│   ├── single_key.keymap         # keycode
│   └── single_key.conf
├── build.yaml                    # build matrix (board + shield combos)
├── config/west.yml               # manifest that pulls in ZMK itself
└── zephyr/module.yml             # registers this repo as a board/shield search path
The key piece is zephyr/module.yml:
build:
  settings:
    board_root: .
This registers the repo root as a board/shield search path, so ZMK can find the custom shield under boards/shields/single_key/.
Getting one switch recognized with kscan-gpio-direct
The actual hardware definition lives in single_key.overlay:
#include <dt-bindings/zmk/matrix_transform.h>

/ {
    chosen {
        zmk,kscan = &kscan0;
        zmk,matrix-transform = &default_transform;
    };

    kscan0: kscan_0 {
        compatible = "zmk,kscan-gpio-direct";
        wakeup-source;
        input-gpios = <&xiao_d 0 (GPIO_ACTIVE_LOW | GPIO_PULL_UP)>;
    };

    default_transform: keymap_transform_0 {
        compatible = "zmk,matrix-transform";
        columns = <1>;
        rows = <1>;
        map = <RC(0,0)>;
    };
};
A few design decisions worth calling out:
Using zmk,kscan-gpio-direct
With a single switch, reading the GPIO directly via zmk,kscan-gpio-direct is plenty, and that’s what this uses. For keyboards with a practical number of keys, you’d instead use matrix scanning (zmk,kscan-gpio-matrix), which reads multiple switches efficiently over a matrix of wires.
Addressing pin D0 as &xiao_d 0
The XIAO nRF52840 exposes a “seeed_xiao” interconnect definition, and you can address pins through its xiao_d node label. ZMK’s design guideline spells out that “&xiao_d 0” is how you refer to D0, so there’s no need to work out that it’s P0.02 and write &gpio0 2 by hand.
GPIO_ACTIVE_LOW | GPIO_PULL_UP
Since there’s no external pull-up resistor and the switch pulls the pin to ground when pressed, the right combination is internal pull-up enabled, active-low.
Keeping a 1x1 matrix-transform anyway
With just one switch, you could skip matrix-transform entirely and set only zmk,kscan in chosen — it builds fine either way. But I kept a 1x1 matrix-transform anyway, so this shield follows the same structure as multi-key shields and can serve as a template for adding more switches later.
Where I got stuck: the board name didn’t match the docs
While working from ZMK’s official docs and the main branch on GitHub, I found the XIAO nRF52840’s board name listed as xiao_ble/nrf52840/zmk. Digging further, it turns out ZMK adopted Zephyr’s “Hardware Model v2” scheme as part of its Zephyr 4.1 migration in December 2025, and the PR that switched the XIAO nRF52840’s board definition over to this new format merged in February 2026 — just a few months before this PoC. That’s what’s behind the renamed board identifier.
I wrote that name into build.yaml as-is and pushed, and the GitHub Actions build failed with this error:
No board named 'xiao_ble/nrf52840/zmk' found.
It turned out that config/west.yml actually pulls in ZMK’s v0.3 stable branch, which still uses the pre-migration name, seeeduino_xiao_ble. In other words, I’d taken the main branch (the development version) docs at face value and missed that they’d diverged from the stable branch actually used for the build.
# build.yaml
include:
  - board: seeeduino_xiao_ble  # not xiao_ble/nrf52840/zmk
    shield: single_key
Devicetree-level syntax like &xiao_d 0 hadn’t changed between main and v0.3 — only the top-level board identifier was affected. Still, when researching ZMK hardware support, it’s worth making a habit of checking that the branch or tag you’re reading matches the revision your own west.yml actually points to.
Building with GitHub Actions and flashing the UF2
Once build.yaml was fixed, pushing was enough to get GitHub Actions to build the firmware automatically — no need to install the Zephyr SDK locally.
# .github/workflows/build.yml
name: Build ZMK firmware
on: [push, pull_request, workflow_dispatch]

jobs:
  build:
    uses: zmkfirmware/zmk/.github/workflows/build-user-config.yml@v0.3
Once the build succeeds, a .uf2 file shows up as an artifact on the Actions run. Flashing it to the board goes like this:
- Double-tap the XIAO’s reset button to enter bootloader mode (it shows up as a USB mass-storage drive)
- Drag and drop (or copy) the
.uf2file onto that drive - The board resets itself automatically and boots into the flashed firmware
Does it work?
After flashing, I paired it with my PC over Bluetooth and pressed the switch — and, as expected, it typed A. Even with just a single switch, actually seeing a wireless keypress arrive was more satisfying than I expected.
Takeaways
- A ZMK config repo just needs a custom shield with
board_rootregistered, plus an entry inbuild.yaml— no local environment needed, GitHub Actions handles the build zmk,kscan-gpio-directplus an interconnect’s pin labels (like&xiao_d N) let you wire things up without calculating GPIO numbers yourself- ZMK’s docs/
mainbranch and the stable branch a repo actually references (e.g.v0.3) can disagree on board identifiers — when researching, make sure you’re looking at the same branch your config actually uses - Solder-free IC-clip wiring works fine, as long as you remember to turn on the internal pull-up
This PoC gave me a feel for both the XIAO nRF52840 and ZMK Firmware, so next I’m moving on to actually designing a wireless keyboard.